Wednesday, April 17, 2013

We Moved!

Thanks for stopping by!

We moved!!  We are now blogging at:

www.CorasQuilts.blogspot,com 


Please be sure to update your reader accounts - thank you!

Thursday, April 11, 2013

Celebrating Spring!

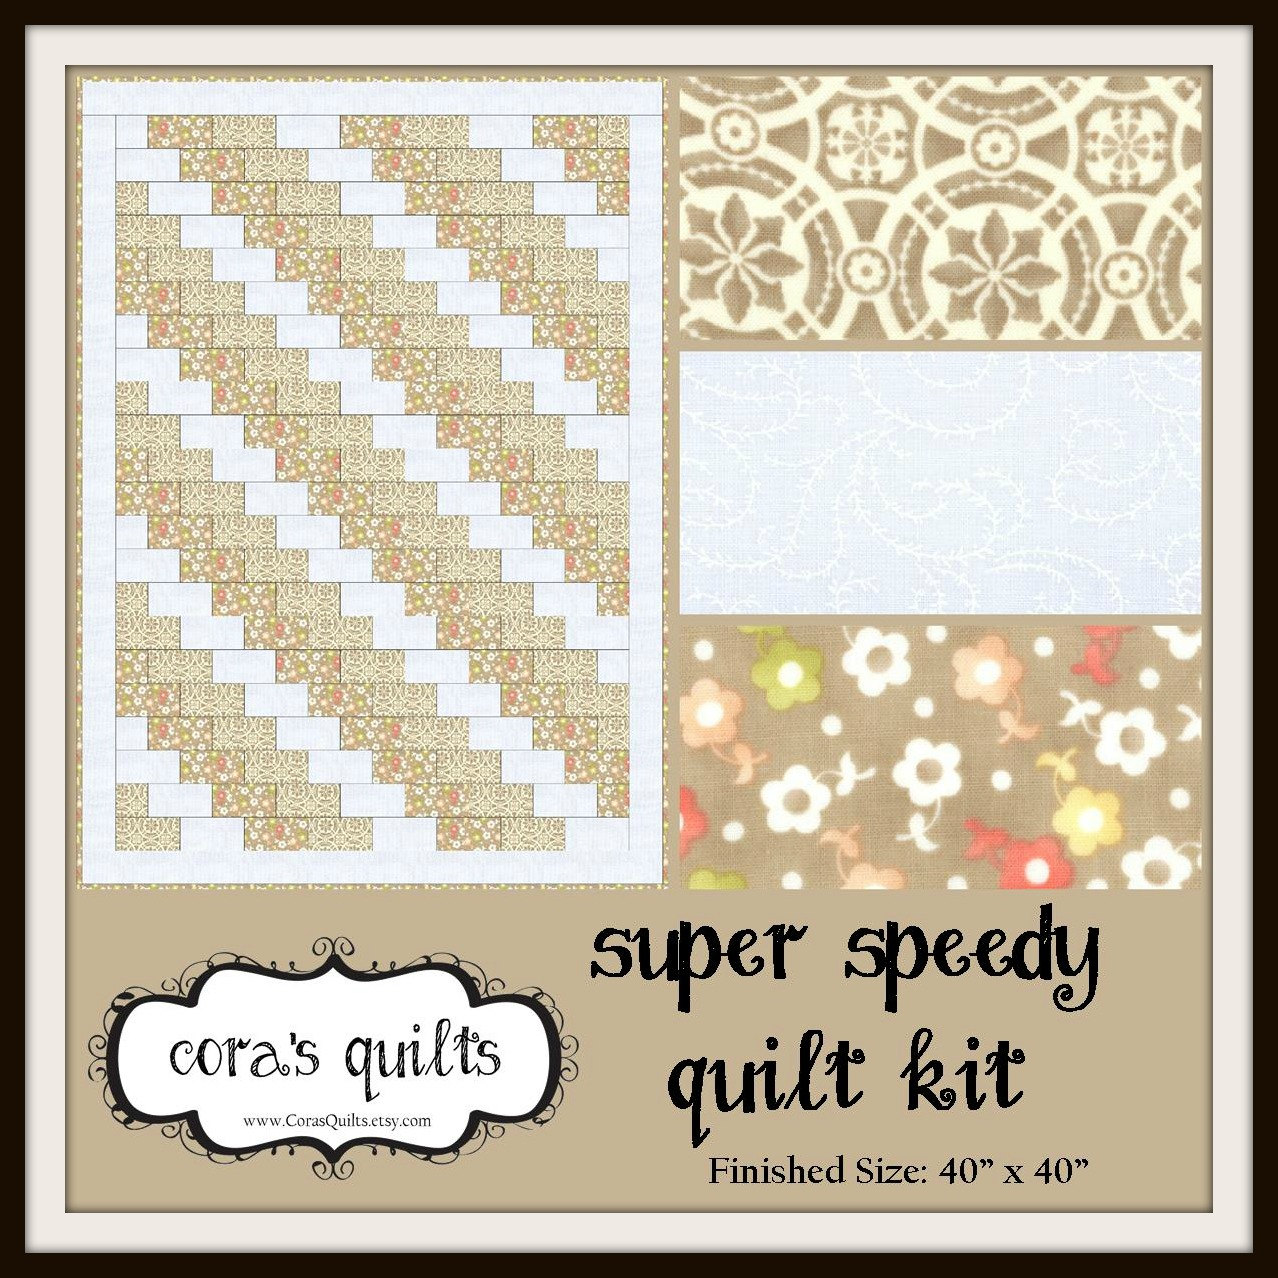
We're celebrating spring at Cora's Quilts with a pattern revamp!  The Super Speedy Zig Zag quilt is now even SPEEDIER with instructions for strip piecing!


The pattern includes instructions for two quilt sizes: Crib {40" x 40"} and Twin {52" x 72"}.


The pattern is currently available as an INSTANT .pdf download from both our Craftsy and Etsy shops.

And, to celebrate our revamp, we're offering FREE SHIPPING on our Super Speedy Zig Zag Quilt Kits

Free shipping offer expires 5/15/13.  Thanks for stopping by and happy sewing!

Monday, April 8, 2013

Design Wall Monday

Happy Design Wall Monday!  My Garden Oasis has been on the design wall for several months now.  I love this quilt so much, but all of the little squares, angles, and bias pieces make it a bit of a beast to piece!


The top is just about finished - I just have to finish sewing the last five rows together and add a quick border - but it's so big I'm trying to decide whether to attempt it myself on my little machine, fork over the money to have a professional long arm quilter do it, or wait to do it until I have a new machine sometime in the {hopefully not too} distant future.  I really admired the work of a gal named Cathy, of Quilts by Cathy, at the Valley Quilt Guild annual show in Yuba City last month, and I'd love to explore working with her, so I'm kinda leaning that way ....

... especially since Little Man #2 is set to make his debut in no less than 3 months!  I'm hoping to put the finishing touches on Little Man #1's baby quilt this week ... probably right in time for him to move into his new, big-boy room, decorated with the Super Mario characters, per Daddy's request!

After seeing some of the amazing 8-bit Mario quilts out there - you can check out my favorites on pinterest - I'm thinking that there might be a Mario quilt {or two, just to be fair} in my future ...


{Yes, I do realize that over 5,000 individual squares, times two blankets, I might be slightly insane ... but I love it a little too much!  Definitely insane!}

Happy sewing!

Thursday, March 21, 2013

Introducing: Sugar & Spice!

With my hubby, my sweet little 16 month old son, and another boy on the way in July of this year - and almost a dozen male cousins for my boys to play with! -  it must come as no surprise to you that I'm craving a little bit of girly-ness in my life!

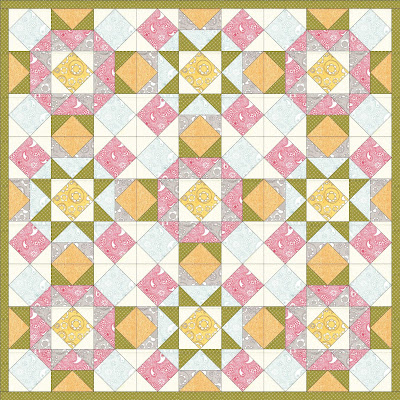
Luckily, this gem of a little quilt came along right in time to add some much needed floral-y goodness to my studio!  Introducing ... Sugar & Spice.

Crib Size Quilt - finishes at 45" x 45"

This pattern comes in three sizes: Crib, Lap, and Queen.  The quilt may look complicated at first glance, but it only uses two different blocks, so it goes together quickly!

Lap Size Quilt - finishes at 60" x 60"

I used fabric yardage in my design just because I find that I crave symmetry and balance in my own quilts, but you could easily pull lots of different prints from your favorite lines or even your stash to make a beautifully scrappy version, too!  

Queen Size Quilt - finishes at 75" x 75"

The pattern includes a blank "coloring quilt" page so that you can play around with your color choices and placements ahead of time, without the commitment of cutting and piecing trial blocks.


This pattern is currently available for immediate download through both our Craftsy and Etsy shops.

Thanks for stopping by!

Monday, March 11, 2013

Monday Mis En Place

Over the weekend, I had the chance to sit down and leaf through a fabulous book my mom lent me:


I've always been a cluttered person and my sewing space is no exception!  The fact that I have a toddler really only compounds the problem, since I only have small windows of sewing time and I rarely  "waste" that time cleaning up in between projects or organizing my space.

On top of that, we are expecting bundle of joy #2 in July ... which means that Bundle #1 is moving into his big boy bedroom next month ... and I have to find a place for all of the sewing goodies I've stashed there now ... in my office/sewing room/fabric shop ... and still be able to function in that space!

So, it's time to make some permanent changes!

Step #1 in Carolyn's book is to identify the causes of the clutter.  Easy enough - that's me. :)  I tend to pile things (on the desk, the floor, my workspace, the bookshelf) rather than sort through them and put them away.  I also have a nasty habit of starting new projects on top of old projects, and then rearranging stacks as I need things.

Once you've identified the root of the problem, the idea is to do a deep clean and then reorganize all your goodies into organized stations based on your needs.

While I can't do any heavy lifting right now, and bending over is a bit of a challenge, I did manage to at least straighten up my main workstation this morning!

My first station is my ironing station, which sits at table height (so that I can press while sitting down).  It's perpendicular to my sewing machine so that it's quick and easy to sew, press, and then sew some more - all by just swiveling in my chair.  My design wall sits directly behind the iron board, so that it's easy to lay out blocks as I finish pressing them.  This isn't a new set-up for me, but I find that it really works and so it's definitely staying in place.


My sewing station is in the corner of the room, right next to the only window.  Unfortunately, it's a difficult place to photograph, but again, the set up near the ironing board works for me.  What doesn't work is that all my thread and sewing machine accessories are housed all the way across the room in the closet.  Most of the time, this isn't a problem, as I'm piecing with my giant spool of white thread ... but I'm thinking that it would be nice to have everything within arms reach.


I'm lucky enough to have a 70" rotary mat, so I usually use the end closest to the sewing machine as a staging area for block construction and trimming.  This week, I'm working on my Civil War piece, Shiloh.  These blocks just fly together, even with the paper-pieced borders, so I'm hoping to be posting a finish and the new pattern by the end of the month!


The end of the table houses my fabric for my current projects - I'm limiting myself to just two on the table at a time! - along with a second trash bin and any tools that I'd like to keep handy.  There's a spare monitor living there at the moment, but it'll hopefully be finding it's more permanent home on our desk in the very near future.


Finally, some of my more frequently used my sewing gadgets (which are in desperate need of tidying) are hanging on the wall at the end of the table.  The rest are housed in my sewing boxes in the closet.  Again, I've had this set up in place for quite awhile, but for the most part, it seems to work for me.


All in all, I think I'm off to a good start.  Hubby is planning on hanging some of those fabulous Ikea shelves along the wall, so that I'll be able to easily move projects out the way when I need to cut yardage, or assemble kits.

Next up ... the overstuffed bookshelf ... and in all honesty, the pile in front of it. :)   Happy sewing!

Introducing ....

It's been a long-time dream of my to own my own fabric shop, so I'm really happy to {finally} be able to share some exciting news!  Introducing ...


www.CorasQuilts.Etsy.com
We're starting out small, but we're adding new and exciting things each week!  You'll find fabric from the latest lines of our favorite designers, like Fig Tree & Co, 3 Sisters, Kate Spain, Bonnie & Camille, and Sandy Gervais, just to name a few.  We've also opened up the Cora's Quilt fabric stash to share some of our favorite out-of-print treasures.

We carry a great selection Fat Quarters and Fat Eighths, yardage, Moda Bella Solids, Moda Muslin Mates, and fantastic quilt kits.  We also carry a variety of .pdf patterns, in case you're looking for a new project to start - and now these patterns are available for immediate download from our etsy shop.  Hooray!


Here are some of our favorite listings this week!

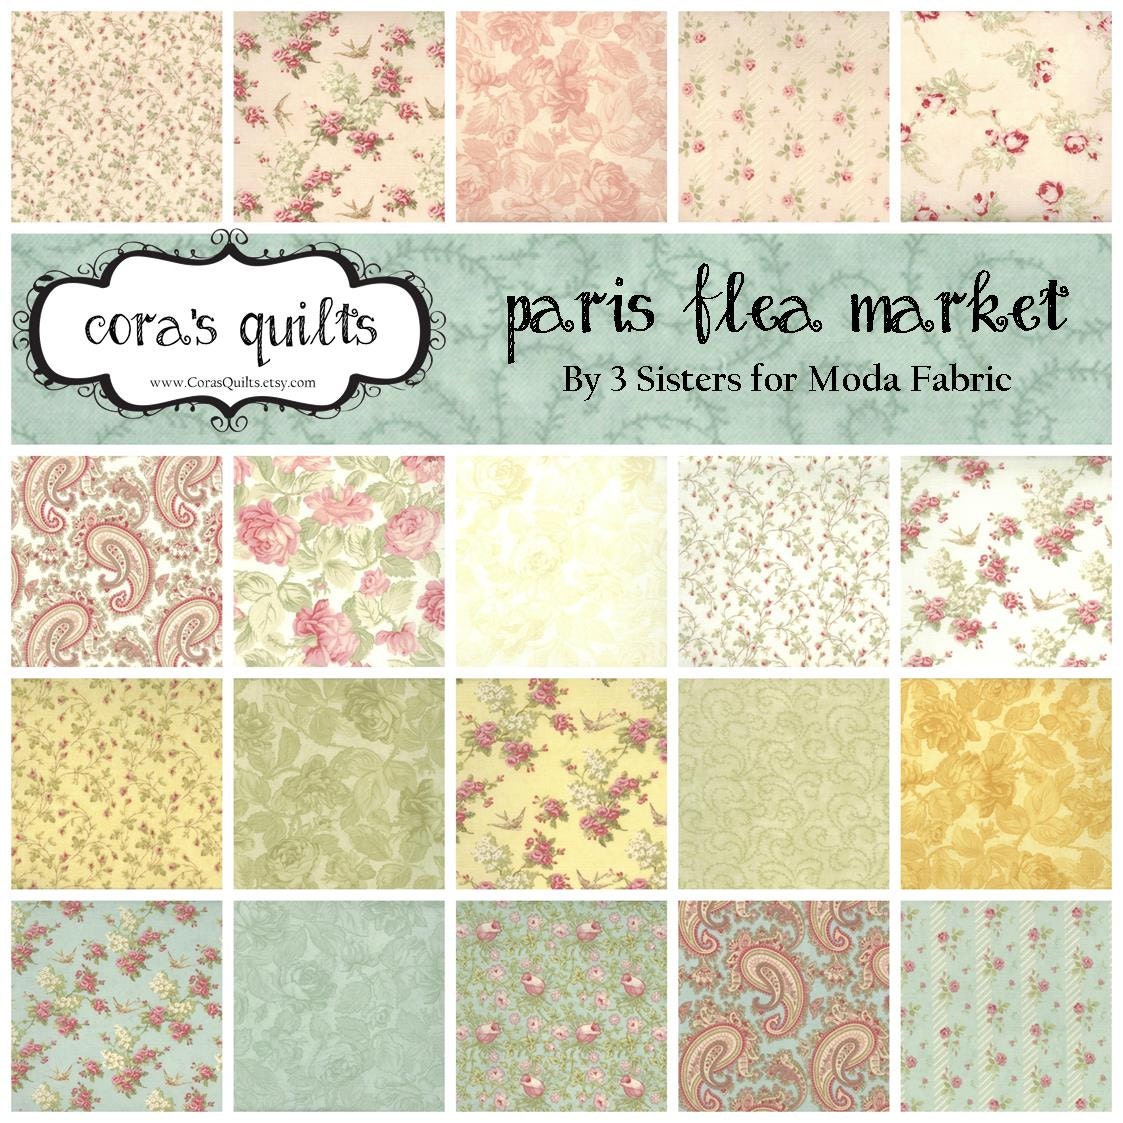
Paris Flea Market Fat Eights bundle

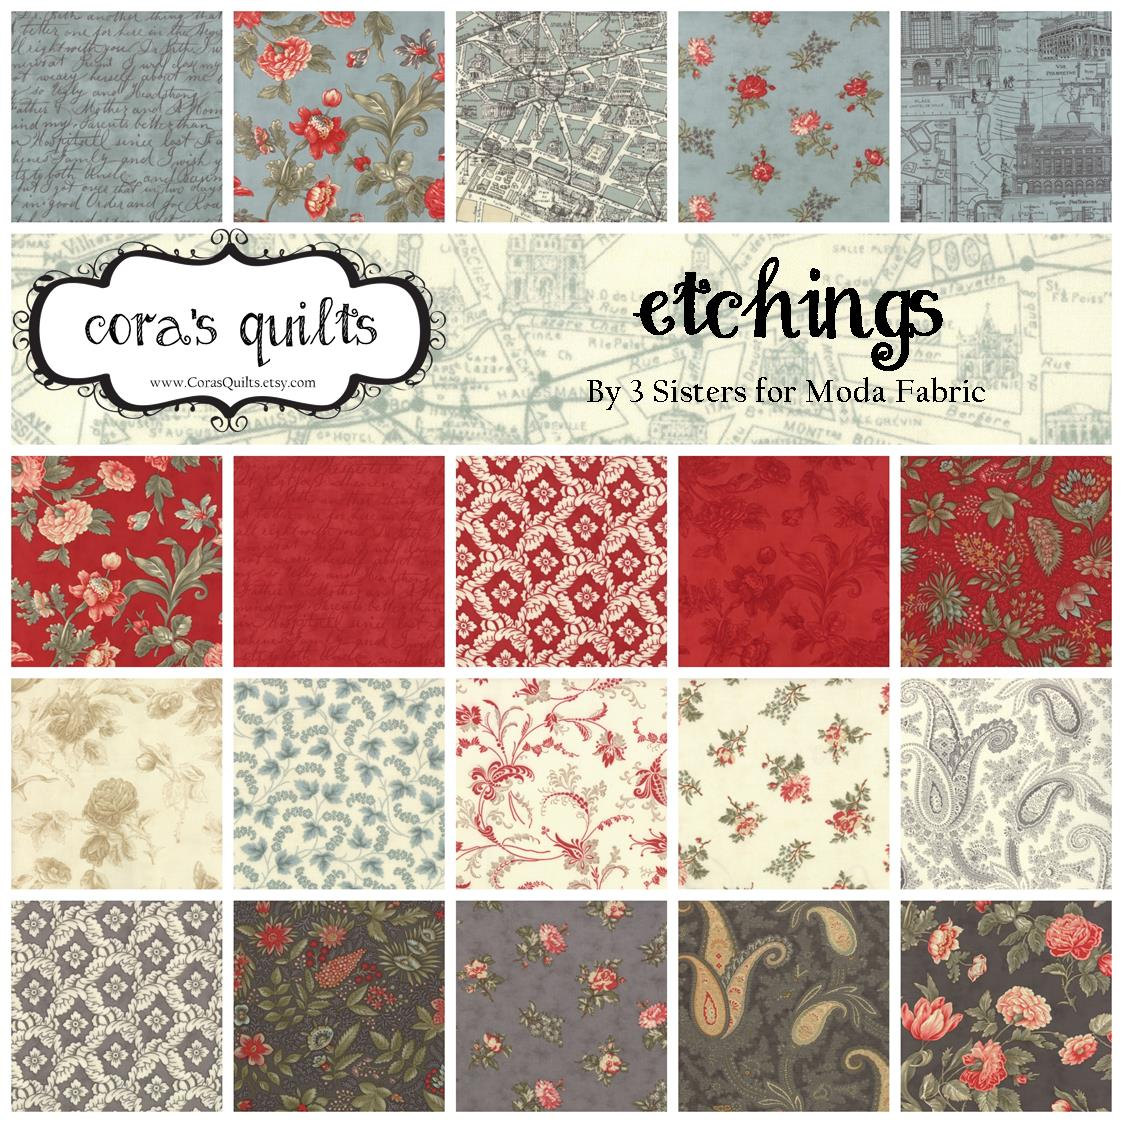
Etchings Layer Cake

California Girl Quilt Kit


And as a special thank you to my Poplun followers ...

Wednesday, February 20, 2013

Happy Wedneday

Happy Wednesday!  We've had a busy week around our house with lots of exciting news to share over the next couple of weeks!  In the meantime, I just wanted pop by and share my first finishes of the year!  My t-shirt quilt project was actually finish #3, but I'm a little behind in my posts!

First up is my Aster Manor quilt, made using Miss Rosie's "Mon Ami" Schnibbles pattern.


The quilt top, itself, was finished back in February of 2011, and has been hanging ever since in my closet, waiting for me to figure out how I wanted to quilt it!


The quilt top and the fabric were both busy enough that, in the end, I decided that some simple horizontal lines would suit it best.


I chose a simple chocolate-colored solid for the binding - love, love, LOVE those solid bindings that are so popular right now!  The quilt is currently available in the shop.

Finish #2 for 2013 is a cute little crib blanket using Cherish Nature by Deb Strain.  I originally came across the coin-sized scraps while I was on my cleaning rampage last month.


I was able to use all of my scraps to make up "stacked coins" columns in two different widths, and separated each column with a thin strip of a nice, neutral background fabric.


Since the background strips were so narrow, however, I quickly realized when I went to assemble the whole quilt top that going with a "quilt-as-you-go" method was going to be the best way to get things together without distorting my columns.  I'm so happy with the way it turned out!


I used my favorite turquoise print from the line as the binding - I just love how it adds a pop of spring to the whole project.  This quilt is also available in the shop.


Saturday, February 16, 2013

T-Shirt Quilt finish

Here she is!  All 65 x 80 snuggley inches of her!  My friend was thrilled with it and I know that she'll enjoy lots of time cozying up with her brand new little lady next month!


She just happened to throw in the sashing print from her stash just in case I could use it as backing, but the print {no fabric line information on the selvages :( } went so absolutely perfectly with the shirts, I had to use it on the front!  I mean I couldn't have found a more perfect print that incorporated pink, green, yellow, and black, if I had searched for months!  I think it was just meant to be!


After all the drama with my machine earlier this week, I'm happily taking the weekend off to hang with this little cheese ball and his dad.  Happy Sewing!


Thursday, February 14, 2013

Happy Valentine's Day!


Hope you're enjoying a beautiful day with your loved ones!  I had a wonderful lunch date with the two wonderful men in my life, and I'm happily sitting down to an afternoon of sewing on a new project using some yummy new{-to-me} fabric ...

Oasis by 3 Sisters for Moda

... which means that the t-shirt quilt is all finished!  Hooray!  Pictures are coming tonight once hubby comes home and can hold the quilt up for me!

*    *     *     *    *

As a special Valentine's Day gift, I'm offering my blog readers a Buy-One-Get-One-Free deal on all of my patterns.  This offer is valid unitl 02/28/13.
  • If you're purchasing from the Etsy shop, purchase the pattern of your choice, and leave me a note in the Notes to Seller box with the pattern {of equal or lesser value} that you'd like to receive.  I'll email both .pdf patterns to you within 24 hours, but usually much sooner!

  • If you're purchasing from the Crafsty shop, purchase the pattern of your choice and send me an email at Poplun{at}gmail{dot}com with the pattern {of equal or lesser value} that you'd like to receive.  I'll email the second pattern as a .pdf document within 24 hours, but usually much sooner!
Thank you for being such great readers and happy sewing!!

Tuesday, February 12, 2013

Rookie!


I was so happy to have finally finished my t-shirt quilt top over the weekend and was actually excited to sit down yesterday to start the actual quilting - usually my least favorite part of the whole process.  Unfortunately, little did I know, that a series of seriously rookie mistakes were headed my way!  Don't get me wrong, I don't consider myself a quilting master, or anything, but really ... really ... I know better!!
  • Rookie Mistake #1 - thinking that quilting a 65" x 80" quilt on my cute little machine with a 6" throat would be no problem ...  piece of cake, right?
  • Rookie Mistake #2 - thinking that I could  free motion stipple the entire quilt top ... Yeah right.  This quilt is so flippin' heavy that I could barely move maneuver the bottom corner around. But believe me ... I gave it my best shot.  Cue hour #1 of unpicking threads.  Sigh.
  • Rookie Mistake #3 - sitting down for an hour to quilt some straight lines without a plan, in a pissy mood because of mistake #2 ... and not noticing until this morning that my thread tension was completely off.  Cue hours #2 and #3 of unpicking threads.  Double Sigh.


  • Rookie Mistake #4 - spending another hour pouring through the internet for tips on troubleshooting machine tensions ... when all I needed to do was change the needle.
{Channeling my best inner Chandler voice} - could I be wasting any more time?

I'm happy to report, however, that {with the help of a giant bag of red vines} I am happily back in business.  In the process of re-quilting my straight lines, I realized that I really didn't like my previous {unplanned} quilting scheme, and switched gears a little bit.  I'm really happy with the progress (and my tension looks beautiful, if I do say so) - hoping to have finished pictures to share in a day or two ... provided I can avoid any more rookie mistakes!


Hope your sewing is going a little more smoothly than mine has been!  If you're in need of a little sewing inspiration {or cheering up}, stop by Fabric Tuesday @ Quilt Story or WIP Wednesday at Freshly Pieced to check out some of the great projects out there in blog-land.

Wednesday, January 30, 2013

Wednesday WIP

Well ... most of the WIP around here lately has been on the computer - blah business-y stuff, and some new patterns in the works - but I have managed to sneak in some sewing time on this fun t-shirt quilt, which also means that I finally have something to share for WIP Wednesday over at Freshly Pieced.

{it's hanging sideways}

It's a commission project for a friend from my old job.  She's participated in a number of really fantastic breast cancer races and wanted to be able to display her {well-earned} trophies.  We included a couple of shirts from some of her favorite vacations so that she would end up with a nice, snuggly quilt full of great memories.

When I first started the project, I knew that I wanted to use some sort of stabilizer.  Pellon's website suggested using Pellon 950F Shir-Tailor®, so since that's always been my go-to brand, I figured that that's what I would use.  Unfortunately, when I got to the craft store, I found that it was way too thick.  Since I wanted minimal stabilization and optimum snuggle-abilty, I opted to go with Pellon P44F Fusible Nonwoven, which has worked like a dream!

One of the challenges with this quilt was to combine tiny, medium, and large sized prints into a cohesive project.  I have to admit, I was at a little bit of a loss as to how to start ... but once I measured all the shirts, I realized that they could all be easily rounded up to multiples of 3, which gave me a great starting point for planning and playing with graph paper cut-outs.


My first attempt resulted in lap quilt that was a great width, but ridiculously tall.  I realized, too, that a few of the panels were sideways {grrr}, but rather than shuffle my squares and start all over again, I tried the whole thing in Excel ....


... and it was sooooooo much easier to move the blocks around and come up with a layout that was a little more balanced!  I'm so happy with the way it's turning out and I know my friend will too!  My plan for this evening is to finish up the bottom row and the inner sashing rows.  I'm hoping to have enough of the great background fabric that she sent over to use as the outer border too.  It matches all the colors of the shirts so perfectly - I mean I couldn't have found a better match in months of searching!

Tuesday, January 15, 2013

Happy Tuesday!

Happy Tuesday!  I don't have too much to share on the crafting front, as I've been spending most of my spare time on my giant organization project.  I am hoping to sneak out to the fabric store a little later today to pick up some backing so that I can start finishing some long over-due projects.

This morning, I do have a new pattern to share on Craftsy, though!  It's one of my favorites, and it's perfect for cozying up this time of year


Thanks for stopping by!

Monday, January 7, 2013

Design Wall Monday

Well, my original intention was to finish my mammoth effort to clean up my sewing space and finish cataloging my stash before even thinking about sitting down at the sewing machine ... let alone starting a new project.  But, as I was choosing the fabric for the first of my big 2013 de-stash posts, I decided that I just wasn't ready to let go of my Cherish Nature hoard.  In fact, while I was looking through some scraps, I discovered that I had a whole slew of 1 1/2" strips!

Please excuse my super dirty ironing board cover!
So, rather than let them go, I decided to make a quick stacked coin quilt.  I've never made one before, so it should be a quick, new, little project that I'm hoping to have knocked out and finished in less than two weeks!

My basic inspiration is the "Stacked" quilt by AmandaJean of CrazyMomQuilts from several years back.

Photo courtesy of CrazyMomQuilts for Moda Bake Shop
I think that for my version, I'm going to play around with stacks of different widths just to add a little something.  My goal is to make the quilt as scrappy and random as possible, which is something that my OCD self sometime has difficulties with.  I will admit, though - I did sit down and do the math to figure out how to divide my remaining prints equally between the stacks ... you know, for the sake of balance ...


What have you chosen as your first project of the year?  Need a little inspiration?  Be sure to stop by Design Wall Monday over at Patchwork Times to sneak a peak at some other design walls (or ironing boards, in my case) out there in blogland.  Happy Sewing!

Sunday, January 6, 2013

The Great 2013 Destashing

Welcome to the Great 2013 Destash!

As part of my efforts to simplify in 2013, once or twice per month, I'll be holding a de-stashing sale.

If you're interested in making a purchase, please email me at poplun{at}gmail{dot}com with your order and your mailing address.  I'll reply with a paypal invoice, including the USPS Flat Rate shipping rates.  Most purchases will usually fit in a Flat Rate Envelope, which ships for $4.95.  Once payment has been sent, I'll ship your package and email you with your tracking number. Easy peasy!

Here's my selection for January:

1 - Prayer Flag by April Cornell Layer Cake

Never been used {only slightly oogled by me} and carefully stored! 42 - 10" sqaures, still in it's original packaging. 

Price: $28 + shipping
Full Line Swatch page available here.


Set of 3 prints from Ella's Wishes by Connecting Threads

Total of 2 yards: 1 yard of the larger scale print, and 1/2 yard each of the barbells and the dots.

Price: $8 + shipping

1/2 yard Scarlet flowers from Boutique by Chez Moi for Moda

$4.50 + shipping

Grab Bag: Verna by Kate Spain for Moda SOLD!

Contains:
  • 30 - 5" charm squares, in various prints
  • 1 - 13.5" (.38 yards) yardage cut in Dewdrop vine (see large picture below)
  • 1 - 16.5" x 18" piece in Dewdrop daisy chain (see right top picture)
  • 1 - 14" x 17" piece in Dewdrop blossoms (see right middle picture)
  • 1 - 13.5" x 17" piece in Dewdrop Paisley ( see right bottom picture)
  • A ziplock baggie full of some various sized charm scraps, mostly in Dewdrop prints
$12.50 + Shipping SOLD!
Full Line Swatch Page available here


Looking forward to 2013

I've been thinking about my word for 2013 for several weeks now.  My first instinct was to go with ORGANIZE - God knows that my sewing room {and my life} could use quite a bit right now!

My first attempt was to clean up my space and organize all my fabric ... which then lead to the decision that I needed a database to keep track of my "inventory" - you know how I love my spreadsheets ... which then lead to the realization that while I adore my stash, there's no way on earth I'll ever have time to use even a fraction of the fabric I've amassed ... which resulted in the realization that perhaps I had chosen the wrong word.

Instead, maybe I needed to blatantly borrow Camille Roskelley's word of the year from several years back and go with:

Font: Pea Ellie Bellie

The more I thought about it, the more I realized that this word perfectly describes my goals for the year!
  • More process posts {and more photos!}, which will hopefully inspire more finishes.
  • More organization and mis en place, to inspire greater productivity in my shrinking sewing time.
  • More de-stashing and streamlining my workflow. 
  • Less quilt-a-longs and project clubs{as much as I love them!!}, so that I can be more focused on my projects at hand.
  • Less facebook/pinterest/time-sucking-fb-games ... because really, I hate it when I've spent an entire nap hour just clicking the mouse
So, there you have it - my goals for 2013 in a nut shell!  Coming from Poplun this year, you can also expect fabric in the Etsy Shop {finally - more on this soon}, new patterns and kits, and some of my favorite Poplun Designs quilts remade in some of the great new lines that are coming this year.  Now, I'm off to finish logging my last few boxes of fabric so that I can get on with some de-stashing!  Happy sewing!