Showing posts with label New Growth Quilt-A-long. Show all posts

Sunday, June 10, 2012

New Growth!

Good News!  New Growth, our Spring 2012 Quilt-A-Long project is now available as a free pattern download on Craftsy!


Please be sure to share your finished quilts on either of our Flick streams:
New Growth Quilt-A-Long: http://www.flickr.com/groups/newgrowth/

Don't forget to stop by and enter our "Regatta Gala" giveaway for this month's table runner pattern!

Saturday, April 14, 2012

New Growth {Part 5}

Quilt-A-Long, Part 5: Come Together!


Welcome to the New Growth Quilt-A-Long.  If you need to catch up on the Quilt-A-Long, you can visit Part 1Part 2, Part 3, or Part 4.  Be sure to share your progress pictures and fabric selections with the Flickr Group!

{A Note Before Starting}:  Mathematically, the seams on the end squares of the white panels made in step #1 should match up perfectly with the second seam in on each end of the main color checkerboard panels; however you actual panel width might be slightly different  Be sure to measure your all five of your checkerboard panels, take an average, and adjust the length of your white panel accordingly

1.    Sew a white background 4.5” square to each end of the four 4.5” x 40.5” strips, to create 4 – 4.5” x 48.5” background panels.  Press seams open.

 2.    Sew a white panel to the top and the bottom of both of the main color 2 x 24 checkerboard panels.  Press seams towards the white panels.

3.    Lay out the multi-color/white panels alternately with the white/main color panels (made in step 2), as pictured.  Sew together into rows, carefully matching the ends together, to complete the quilt top.


 4.    Layer backing, batting, and quilt top together; baste/pin and quilt as desired.  Personally, I’m more of a minimalist when it comes to quilting, so I suggest a simple diagonal cross-hatch, as pictured.

 5.    Sew the 5 – 2” strips of binding fabric together, end-to-end, for a straight-grain, French-fold binding; match raw edges together lengthwise and iron along the fold to crease.  Attach the binding to the front of the quilt, aligning the raw edges and sew.  Fold the binding over and hand sew to the back side of the quilt with a neat blind stitch.  A nice tutorial for this method is available here.

Thank you so much to all those who participated in the quilt along.  Be sure to share your pictures in our Flickr group.  Happy Sewing!

Monday, April 2, 2012

New Growth {part 4}


Quilt-A-Long, Part 4: Checkers?


Welcome to the New Growth Quilt-A-Long.  If you need to catch up on the Quilt-A-Long, you can visit Part 1, Part 2, or Part 3.  Be sure to share your progress pictures and fabric selections with the Flickr Group!

Main Color Checkerboard:  In Part 3, step 4, you made 16 - 2.5” main color + white block units.  You’ll need all 16 units for steps 1-5.  Give them a quick press if it’s been awhile since you’ve constructed them, just to make sure you’re working with nice, crisp units.

1.    Pin two units right-sides-together so that the colors are alternating, as pictured.

  
If you pressed your seams towards the colored fabric, your seams should nest together and line up nicely.

  
2.    Sew together and press seam open. 


3.    Repeat with remaining 14 – 2.5” main color + white block units to create a total of 8 - 2x6 checkerboard units.

{Note}: For speedier assembly, do all your pinning first and then you can chain-piece the blocks at once.


4.    Pin two 2x6 checkerboard units together end-to-end (with colors still alternating!!), as pictured.  Sew together and press seam open.  Repeat with remaining 6 – 2x6 checkerboard units to create a total of 4 – 2x12 checkerboard units.


5.    Pin two 2x12 checkerboard units together, end-to-end (with colors still alternating!!).  Sew together and press seam open.  Repeat with the remaining 2 – 2x12 checkerboard units to create a total of 2 – 2x24 checkerboard units.

More Checkerboards: In Part 2, steps 6 & 7, you made 12 -  2.5” tri-color + white block units in four different color combinations.  You’ll need all of those units for the next few steps.  Again, give them a quick press, if needed!

6.    Pin an A-B-C unit right sides together with a C-D-E unit, as pictured.  The white blocks should be alternating.

  
Sew together and press seam open.  Repeat with remaining 11 A-B-C and C-D-E blocks to create a total of 12 – 2x6 checkerboard units in this color combination (We’ll call it Combo #1).


7.    Pin a D-E-F unit right sides together with a F-A-B unit, as pictured, with the white blocks alternating.


Sew together and press seam open.  Repeat with remaining D-E-F and F-A-B blocks to create a total of 12 – 2x6 checkerboard units in this color combination (Combo #2).

  
8.    Pin a combo #2 block to the bottom of a combo #1 block, as pictured.  Sew together and press seam open. Repeat to make a total of 6 – 4x6 checkerboard units.

  
9.    Pin a combo #1 block to the bottom of a combo #2 block (the opposite of what you did in step #8).  Sew together and press seam open.  Repeat to make a total of 6 – 4x6 checkerboard units.


10.  Pin a step #8 unit to a step #9 unit, as pictured.  Sew together and press seam open.  Repeat to make a total of 6 – 4x12 units.

  
11.  Pin together two of the units made in step #10, as pictured.  Sew together and press seam open.  Repeat to make a total of 3 – 4x24 units.

Final construction and finishing instructions are right around the corner. Thanks for stopping by!

Tuesday, March 27, 2012

New Growth {part 3}


Quilt-A-Long, Part 3: Strip Piecing and More Cutting!


Welcome to the Quilt-A-Long.  If you need to catch up on the Quilt-A-Long, you can visit Part 1 or Part 2.  Be sure to share your progress pictures and fabric selections with the Flickr Group!

Strip Piecing:
  1. Pin a 2.5" x 22" white background strip right-sides-together to each of the 24 - 2.5" x 22" print strips (6 Main Color strips and 3 strips of each of the other 6 prints).  Using a 1/4" stitch, sew down the side of each strip.

{Note}: Chain piecing makes this step go even faster!


  1. Press the seams towards the print fabric.  Be sure to press {lift the iron up and put down} rather than iron {moving the iron back and forth} to avoid any distortion.
{Note}: The white and print strips will probably be different lengths, but that's ok, as long as the shorter strip is at least 20" long.


  1. Sew three of the main color + white strips together as pictured; press seams towards the main color.  Repeat with the remaining three main color + white strips.


More Cutting:
  1. Square up the edge of the first main color + white unit (if needed).  Cut into 8 - 2.5" block strips, as pictured.  Repeat for the second main color + white unit to create a total of 16 - 2.5" main color + white block strips.


  1. Take one of each of the A, B, C, D, E, & F color + white strips made in step one and cut the unit into two 4.5” x 10” units, as shown.  Now, for each of the six color ways, you should have two large (at least 20”) units and two small 10” units.


A Little More Piecing:
  1. Sew the A, B, C, D, E, & F color + white strips into color sets as pictured below.  Make one large unit and one small unit for each color set.
{Note}: Be sure to pay careful attention to the placement of the white strip to avoid lots of seam ripping later!


 And A Little More Cutting:
  1. Square up the edges (if needed) and cut each of the units made in step 6 into 2.5” strips.  The large units will yield 8 strips and the small units yield 4 strips, so you should have a total of 12 sets for each of the four color combinations.


Instructions for block construction are right around the corner.  Thanks for stopping by!

Monday, March 26, 2012

New Growth {Part 2}


Quilt-A-Long, Part 2: Preparation & Cutting Instructions

Welcome back!  I was going to wait until tomorrow morning to post these instructions, but if you're like me, you can't wait to dive into new projects!

Just a few housekeeping-type notes before we get started!
  • Fat Quarters: They're are supposed to measure approximately 18" x 22" - but their actual size can be really varied.  For this pattern, as long as your fat quarter is at least 20" tall, you'll be just fine.
  • Starching: Using starch as you iron is a personal preference.  My starch brand of choice is Niagara Non-Aerosol spray starch - It's under $2 a bottle at Target, is biodegradable and ozone friendly, you don't have to worry about old starch sitting under the spray nozzle and then old, rusty, spray dripletts on your nice, white project ... and it also comes highly recommended by Ms. Carrie Nelson of Miss Rosie's Quilt Co. fame!  Personally, I like to starch my fabric right before I cut it, rather than starching and pressing blocks (which could cause shrinkage and possibly a little bit of distortion).
  • Pressing Seams: Everyone has their own preference on whether to press seams open or direction-ally.  I say go with what you're most comfortable with.  That being said, though, I recommend for this project to press your fabric away from the background fabric, especially if you're like me and you're using a white background!

By now, you should have all of your materials gathered and your fabric washed, pressed, and starched as desired.  {See part 1 if you need a refresher!}


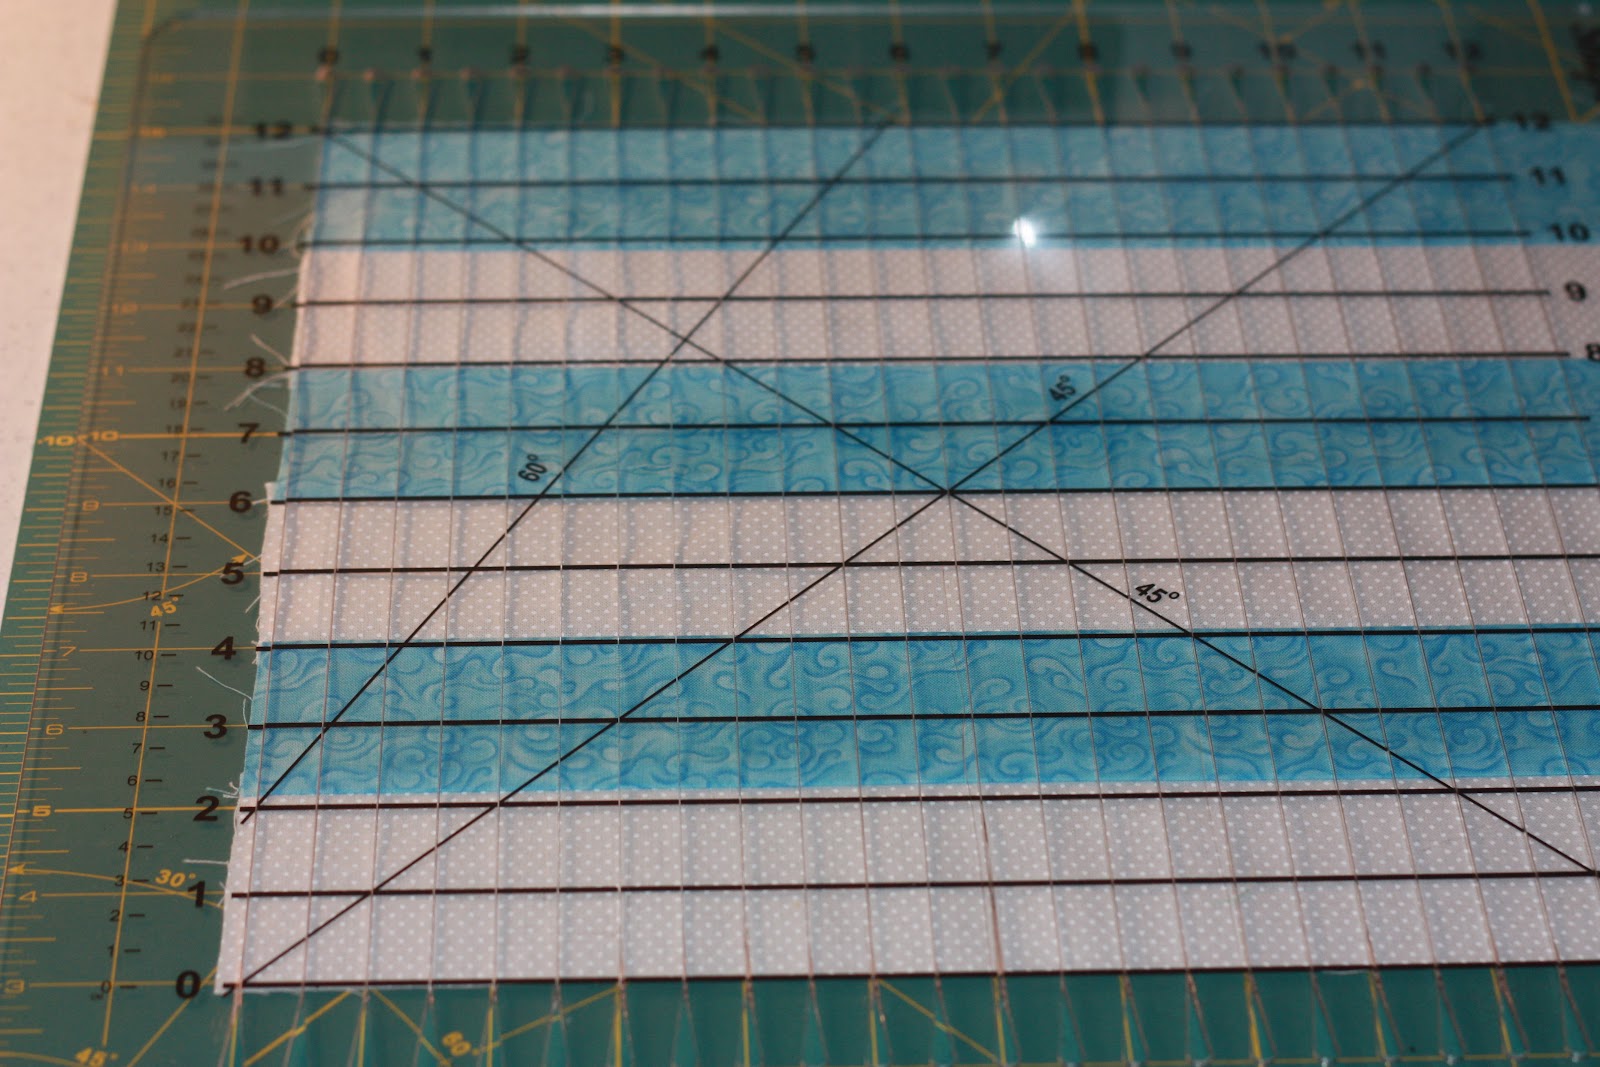
Since all four of the pregnant ladies I know are having boys, I chose to go with a nice blue and yellowy-green palate and my favorite white-on-white polka dot fabric for my background print - I went ahead and folded my fat quarters in half (so that the 18" edges are touching) just to make cutting with my Shape Cut ruler easier.


Preparation:
Besides ironing your fabric, the only prep-work you need to do is to decide which of your fat quarters you'll be using as the main color - used in the second and fourth rows.  Once you've picked it, label the rest of your fabrics A,B,C,D,E, and F.  The quilt is supposed to look scrappy, so just make sure that you don't have two really similar fabrics right next to each other.  To help myself keep track, I like to take a photo of all my fabrics and label it for reference.


Cutting Instructions:


  1. From the Main Color, cut:
    • 6 - 2.5" x 22" strips
  2.  From each of the remaining six fat quarters (A-F), cut:
    • 3 - 2.5" x 22" strips
  3. From the background fabric, cut:
    • 12 - 2.5" x width of fabric (width of fabric) strips;
      • cut each of these in half to make 24 - 2.5" x 22" strips
    • 5 - 4.5" x wof strips
      • trip four strips down to 4.5" x 40.5"
      • cut the fifth strip into 8 - 4.5" x 4.5" square
  4. From the binding fabric, cut:
    • 5 - 2" x wof strips

Stop by tomorrow for the chain assembly and further cutting instructions.  Be sure to post your fabric selections and your progress on the New Growth Flickr group.

Happy Sewing!!

New Growth {part 1} - a free Poplun Designs Quilt Tutorial!

I really love giving handmade gifts – Christmas, wedding or baby showers, house warming parties – you name it.  Unfortunately, I often grossly overestimate the amount of time that I need to finish and end up scrambling to finish at the last minute, pulling all-nighters that rival the days of procrastinating on my college papers!

The other day, I was playing around with quilt designs in Electric Quilt 6, trying to come up with a design that could be whipped up over a weekend or during a couple of baby’s afternoon naps.  This was my favorite pattern - I’m calling it “New Growth” because it reminds me of tiny spring buds poking their heads up through the snow as winter starts fading to spring.

Fabric in the EQ6 mock-up is Twirl by Me and My Sister for Moda

As I was looking back over my posts from 2012, I realize that I never celebrated my 100th post back in January, so I've decided to celebrate now with a free quilt tutorial and quilt along.

Lately, I've only been able to find time to quilt during my son's afternoon naps, so rather than posting this tutorial all at once, I've broken it up into several "nap time segments" that I'll be posting every few days between now and Easter.  So, in two weeks, we'll have a finished quilt.

This project is strip-pieced, so the assembly goes super fast!  I think that if I didn't have any quilting time constraints, I could easily finish this quilt in a weekend, or even in under 24 hours if I was feeling super ambitious.

So here's all the stats for the quilt!!

Finished Size: 48" x 48"

Materials Needed:
  • 7 fat quarters in various colors
  • 1 3/4 yards of your favorite coordinating background print
  • 1/3 yard for binding
  • 52" x 52" piece of batting
  • 2 1/2 yards {or 52" x 52"square} fabric for backing
Supplies Needed:
  • Rotary cutter, ruler, and cutting mat
  • Water-soluble fabric marker or painter's tape (for marking the quilting lines on the finished top)
  • Iron, ironing board, and starch if desired
Recommended Supplies (makes all the cutting go WAY faster!):
  • June Taylor Shape Cut ruler available at her online store or at JoAnns, or even WalMart!
To get started:
Wash, press and starch your fabrics.  Cutting instructions are right around the corner!

So, please join me!  There's absolutely no pressure to finish by Easter - start any time and finish at your own pace!  I've set up a Flickr group so that we can all share pictures and progress.  If you'd like to be on the list of participants, please just leave me a little comment below with your blog information or email me at: Poplun{at}gmail{dot}com.  Be sure to grab the Quilt-A-Long button for your blog too!


New Growth Quilt-A-Long by Poplun Designs

Can't wait to see the quilts as they come together!

Happy Sewing!